
Have you ever wanted to arrange a flock of birds on your wall? A real squall that looks lifelike and borne on the wind?
Bird taxidermy can get you this amazing interior decor--but for a price. Each piece can go up to $700 simply for the body of the bird. You haven’t factored in the stands and other materials needed to create your diorama or design. For smaller birds, you may only have to spend $300 for each animal. It’s completely dependent on how elaborate a setup you want.
But what about making your own? Since bird taxidermy is an old art and has been around since prehistory, it makes sense that anyone can learn how to do it. Going to a class or learning how to taxidermy a bird online can save you hundreds of dollars and even help you get the exact design you want for your home or office.
First, let’s take a look at taxidermy and how birds came into the picture. Afterwards, we give you an overview on how taxidermy a bird.
Literally meaning “arrangement of skin” in Greek language or a portmanteau of the Greek words, “taxis” and “derma,” taxidermy is the process of turning animals into inanimate objects. These animals are created for the purpose of artistic display (as in museum display or hunting trophy). They can also be an object of study, or simply to preserve the image of a beloved pet, species or animal.
Taxidermy is applicable for most vertebrates, namely birds, reptiles, fish, amphibians, and mammals. A taxidermist doesn’t necessarily have to be a professional. You can be an avid hobbyist or a veterinarian or doctor. As long as you practice preserving, stuffing and mounting animals, you are practicing taxidermy.
While the practice of taxidermy may be a matter of ethical debate for some countries even to this day, taxidermy is actually a practice far older than anyone may imagine originating from the ancient Egyptians.
Hearing the term “ancient Egyptian” alone would already give you the idea about taxidermy given their knowledge about embalming and mummification. You could say that they liked to perform taxidermy on people, if a human could be stuffed and mounted. In the end, the body still needed to endure, and weather conditions in Egypt did not support that.
By ancient standards, embalming and taxidermy may not exactly be the same thing although both appear to be similar in terms of mechanics. They are similar in the sense that cutting open a cadaver to remove organs among other things to delay a fast decay has religious meanings in Egypt and are probably the same thing. But embalming ultimately dries the specimen and does not necessarily stuff it to attain volume.
Taxidermy, on the other hand, is reliant mainly on the skin or hide. While it may have religious meaning for the taxidermist, this is not the case all the time.
Crude methods of taxidermy were also observed back in the middle ages, often conducted by astrologers and apothecaries for their own reasons.
It was not until 1748, when a person in France named Reaumur published a book about the earliest known method of the preservation of birds. Four years after, the practice of mounting ( jargon for “stuffing” material in the specimen to add volume) in taxidermy was described by M.B. Stollas.
There have been many pioneers in the field of taxidermy back in Europe, one practice of which was the utilization of clay in the preserving process. The resulting specimen was too heavy, though, and this saw limited use since.
By 18th century, the practice of taxidermy was becoming widely spread that the practice itself has become a business and profitable venture. You can see business entities today that do everything from scratch and boast of professional status. One of today’s examples is Todd Huffman’s Birdman Studios which offers bird taxidermy for sale.
In fact, what were today’s literal “stuffed toys” have their origin in the crude practice of taxidermy, that is, by putting in rags and cotton inside the specimen in place of their original organs. This gives them volume and “flesh-like” innards before getting sewn up, eventually making them look like genuine, live fowl in still time.
Of all animals suited for taxidermy, none is probably more ideal than the bird, especially for beginners. Depending on the bird of choice, birds in general, are moderately-sized -- some even small -- yet still are a challenge for hunters.
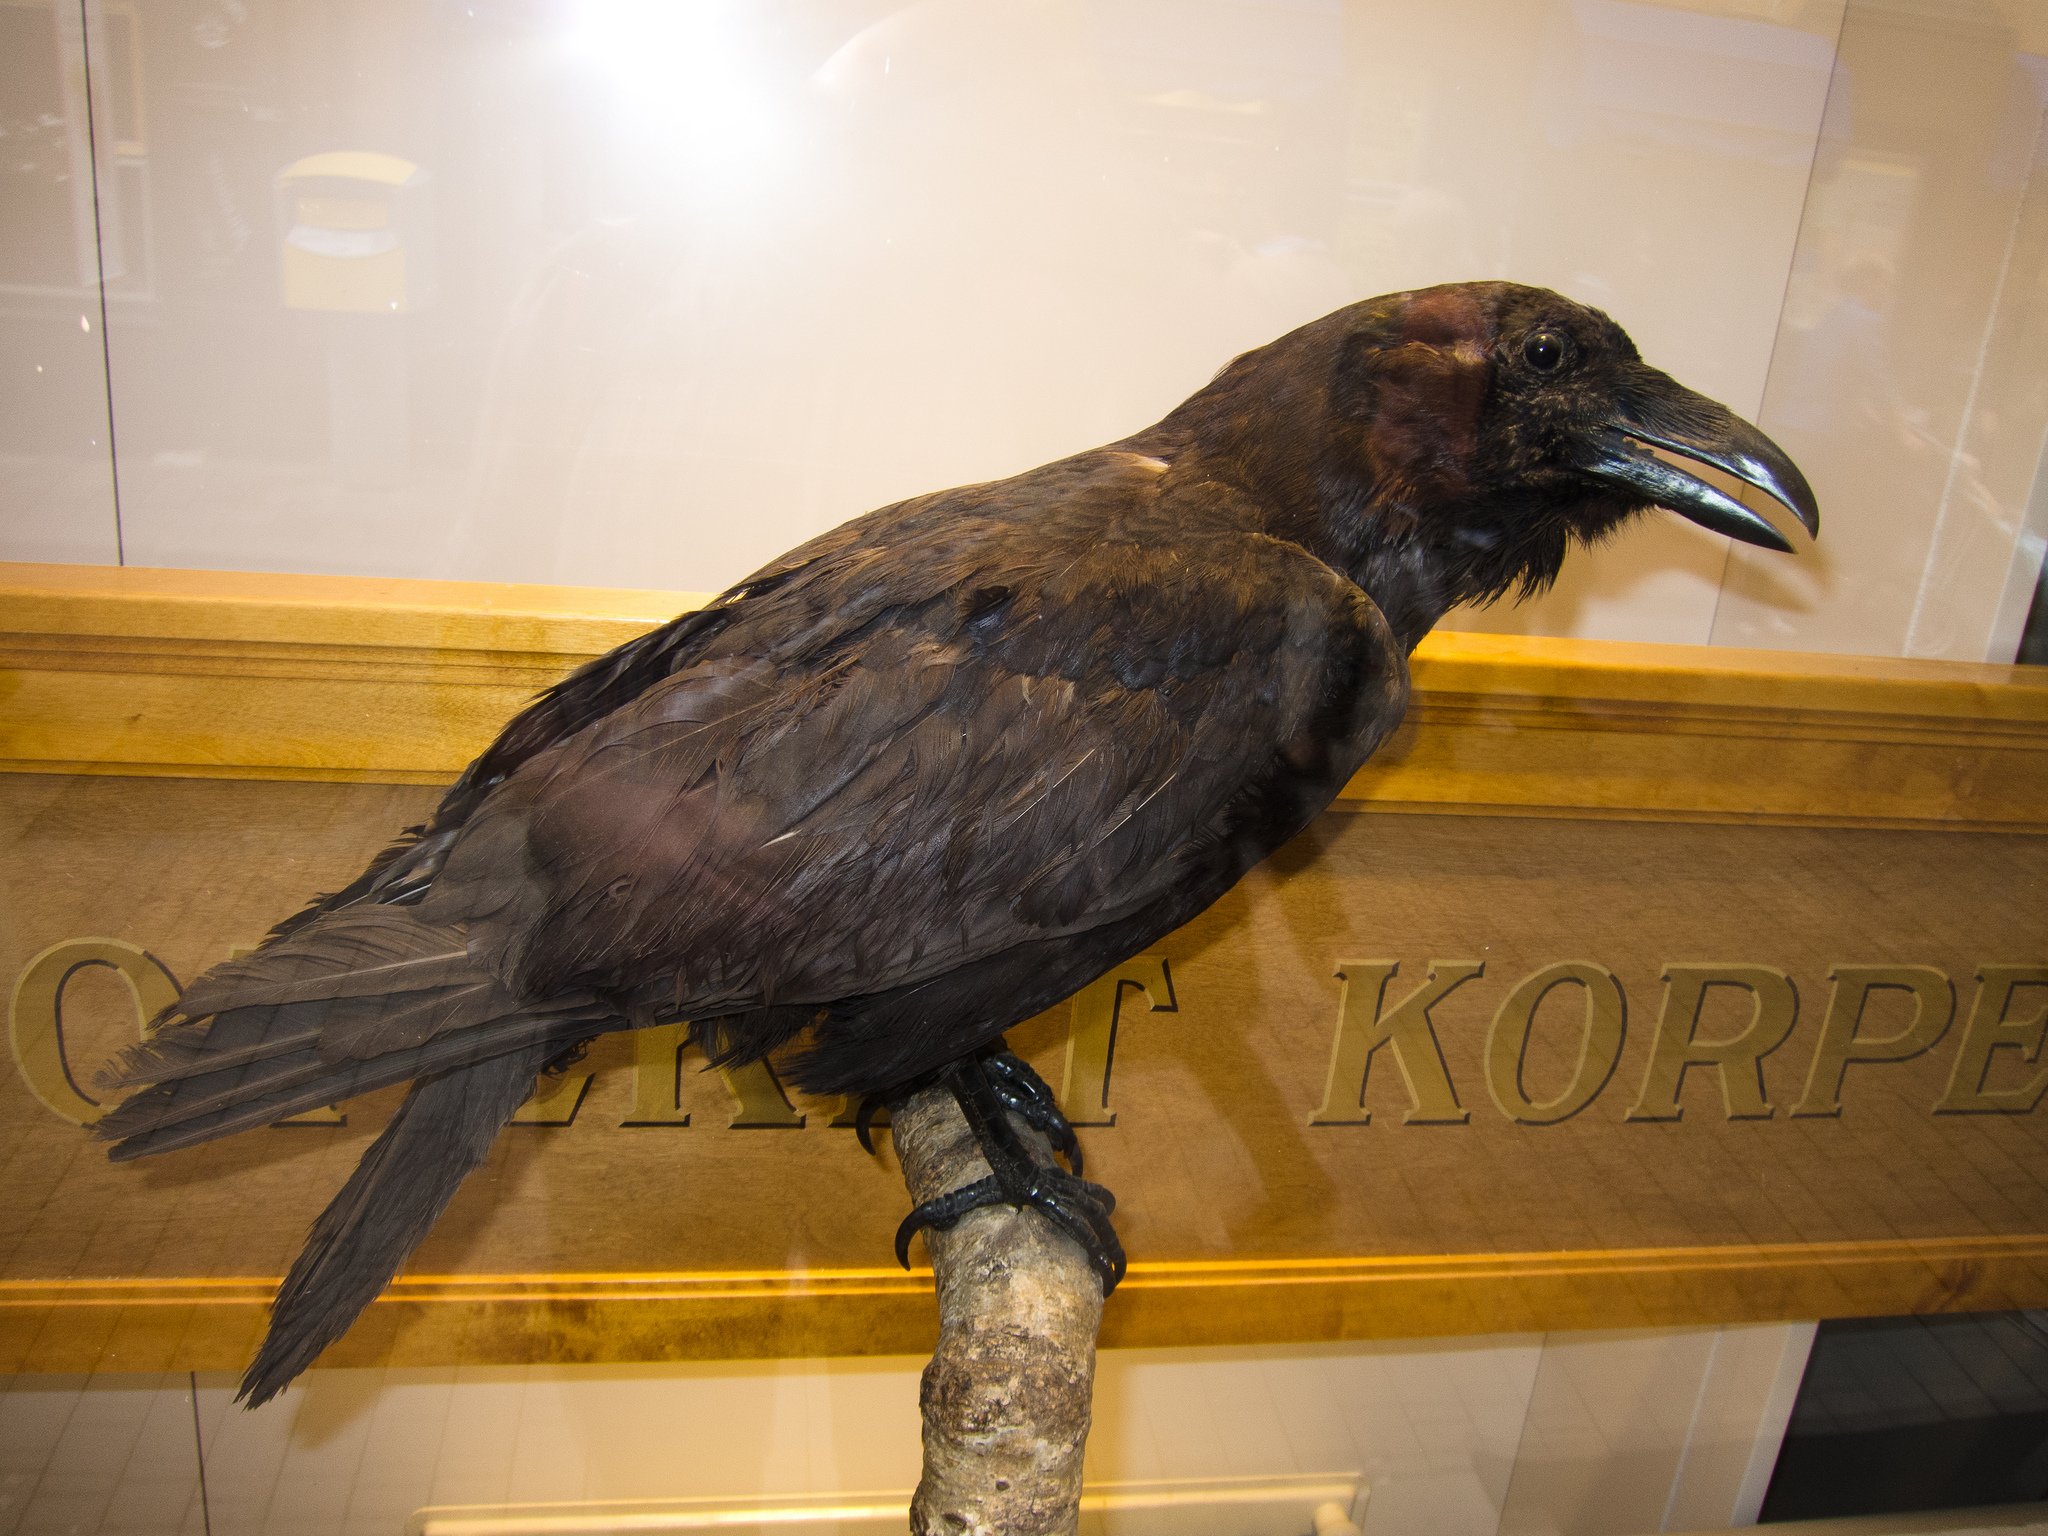
If being a taxidermist is something you want for a hobby or for a profession, bird taxidermy (such as a crow taxidermy) or waterfowl taxidermy (including duck taxidermy), may be a good starting point for its practice. This is because of the abundance of these animals in certain areas as well as the relative challenge of hunting them.
For anyone who wants to get into bird taxidermy, you can go to a specialty store and buy a complete mounting kit based on the bird that you want to stuff. What bird taxidermy takes up in skill does not translate to the same in terms of tools. While you need a lot of finesse and skill, the tools are quite small in number:
Curved Scissors
Bird Degreasing Brush (double end - brass)
Scalpel Handle
Scalpel Blades
Tape Measure (water resistant)
To give you an idea about bird / waterfowl taxidermy, the following are some important things to know:
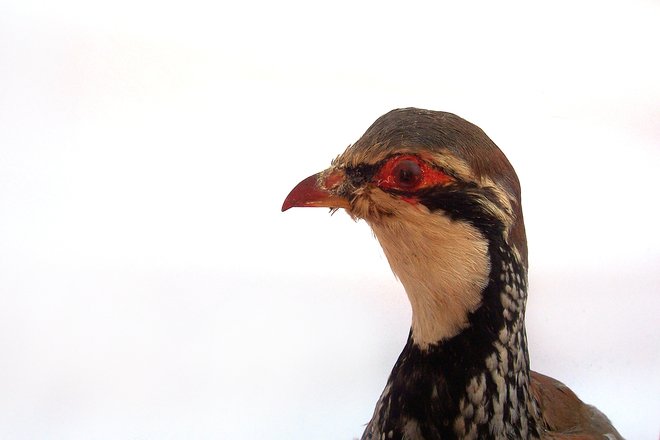
Despite the ease of obtaining a specimen of these species, birds and waterfowl are some of the most fragile specimen you can get for taxidermy. The delicate bones, plumes and beak can be easily rendered unusable with rough handling.
The cast you used with the specimen should be proportionate to its size, which can get miniscule.
If you are new to the concept of taxidermy, then know that the skinning process does not involved the plucking of the specimen's feathers. You only pluck a few feathers where you make an incision and not anywhere else.
Skinning is the separation of the skin and feathers from the body without damaging the bright plumes and the skin that holds them in place.
There are plenty of ways to make an incision on a bird specimen:
vertical incision (from the chest cavity, downwards),
horizontal incision (from side to side of the stomach),
and side incision (literally, either left or right of the specimen's body).
As a delicate specimen for taxidermy, birds require extra caution when handling, especially in preserving the quality of their feathers.
Mishandling of the bird specimen may result in missing or kinked feathers which significantly affect the image quality of the product. Keeping the bird specimen in frozen state preserves the quality of the skin and its feathers. It is an ideal practice among taxidermists of today.
Unlike the crude and imperfect method of taxidermy we have seen back in the distant past, modern-day taxidermy methods are more improved and sophisticated. These focus on putting into higher degree a better taxidermic quality and lesser toxicity in chemicals thanks to environmental awareness and better technology.
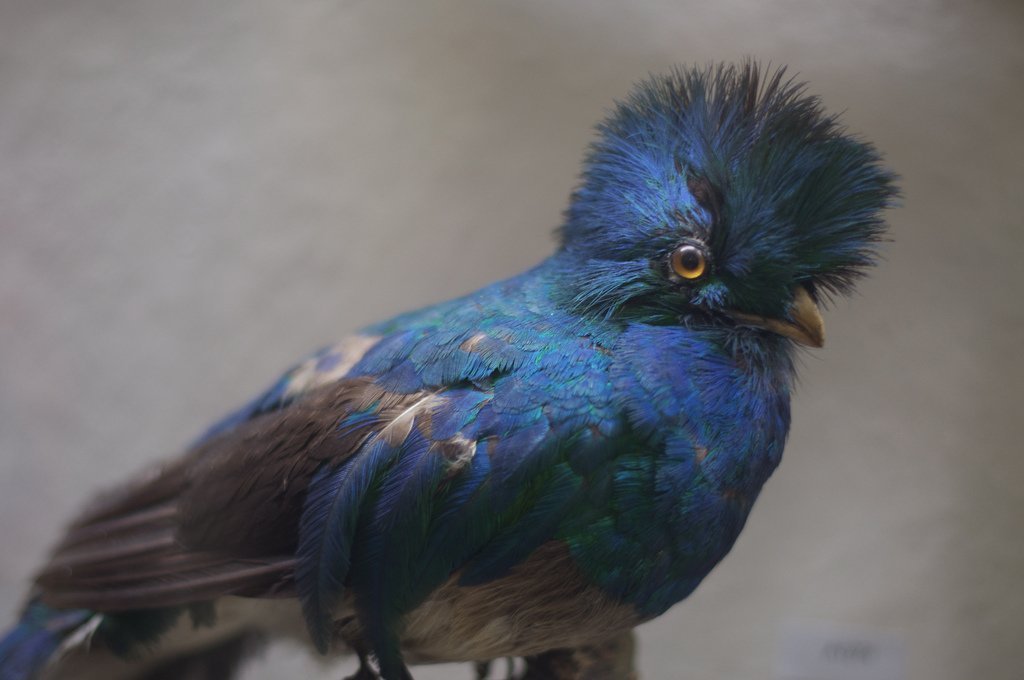
For bird taxidermy, the key is clearly the feathers. Why else would you want to preserve fowl when you can’t have the luster and animation of their feathers especially in mallard duck mounts?
What we get is a methodology more refined yet still making use of old techniques that can never be changed:
Scientific Measurements (optional)
This mostly ties in with planning. While not necessary, measuring your bird helps you retain the lifelike appearance when you’ve skinned and tanned it. you may end up stuffing it too much or too little.
But if you truly want to have a prime specimen, knowing its measurements such as those done in Taxidermy OW can really make your duck mounts precise and elegantly life-like.
Skinning
Although modern methods now enable the taxidermist to go through the process of taxidermy with the specimen without cutting it open, it is still impossible to go through it without skinning. Skinning and taxidermy are mutually inclusive; one does not exist without the other.
With the prior step above skipped, skinning is initially every taxidermist’s starting method in the process. This process separates the specimen’s skin from its flesh similar to how chicken is skinned before being cooked using a sharp knife as the tool.
Tanning
With the specimen’s skin separated, it goes through a tanning process which makes the skin suitable for long-term use. When done right, this results in inanimate material without affecting the natural quality of the outside surface. In the end, the skin will look as natural as it was alive from the outside but is chemically-treated on the inside.
Tanning is an important step as it prevents the skin from rotting. Eliminating biological material that cannot be stopped from rotting is essential. If any is left, the decay would eventually affect the skin, feathers and other parts of the bird, eventually spoiling your work.
Mounting
With the skin treated by tanning, what the specimen will lack now is the content that will fill it up and give it volume, not just skin. The process of stuffing in materials into the specimen’s tanned skin is what is called “mounting,” a jargon in taxidermy.
Unlike previous methods in mounting, modern day approaches to mounting now involve the use of various materials. These can be wool, wire, wood, polyurethane form, and clay, all of which build a better figure and one that is less toxic. Mallard mounts can be purchased in a set and can contain any of these materials.
Previously as mentioned, birds are commonly too fragile a sample to work with which can break if handled improperly, except perhaps larger game like goose mounts, turkey and even ostrich. In cases where damage was done such as, let’s say, a broken crow skull, then making an artificial cast in place of it may be used and is still considered fine.
Labeling (optional)
If you are not into selling your own craft in taxidermy, then the adding of labels to your output is not necessary. Those who are in the business of making taxidermic figures for money, however, may find the labeling a necessity to brand the product similar to literal stuffed toys we see in the department stores.
Just like any artist, you may want to put your stamp or mark on your work even if it’s sold. This way, you can build a taxidermy brand of your own and get patrons. For a wood duck mount, you could consider brass labels for elegance.
Taking into account that birds are a diverse species, including its aquatic counterparts, then bird taxidermy in general is a broad topic. There are virtually hundreds or more within the bird species which can make for a very fulfilling and obsessive hobby.
However, as there is no rule about taxidermy in general apart from the exclusion of some birds in the endangered list, any other type of birds can be a specimen you can use. Common among the bird species are common birds such as the crow as well as the flightless ones with ducks and geese being the most common and abundant.
Among these within the species, the flightless ones are, more often than not, are the easiest to handle. This is because of their sizes in general which are relatively bigger than most common flight birds but are not necessarily less fragile. Birds are known for their delicate feathers, fragile extremities, as well as the neck and beak, all of which break easily if mishandled.
While it is common practice nowadays to put the specimen into a freezing cabinet to preserve its quality as much as possible, prolonged freezing can also damage its quality as seen with damaged skin and freezer-burned feathers.
Be that as it may, modern taxidermists can also maintain a specimen for a year or two and longer with simple scientific mechanics in freezing the specimen which involves only an airless and icy environment. Take a look at what experts say:
“If someone knows they’re going to get something mounted but won’t have the money for a year, they need to put wet paper towels around the feet and head. Then they need to tuck the head under a wing, put it in a Ziploc bag and get all the air out of it before sealing it.” says, Dale Manning, world champion for waterfowl taxidermy.
He continues, “Then put that in a white kitchen garbage bag and squeeze all the air out of that and it’s likely good for a year or two — longer if it’s not in a frost-free freezer.”
“It’s totally dependent upon how it’s wrapped and frozen. A frost-free freezer will suck the life out of them; the air circulating through the freezer to keep it free of frost will draw the moisture out of the birds much faster — not to mention your meat,” he added.
One cannot deny the art involved in the practice of taxidermy; even the science behind it. While taxidermy to this day may no longer be in an era when its practice was at its prime, its art is still relative to this day than it had decades ago.
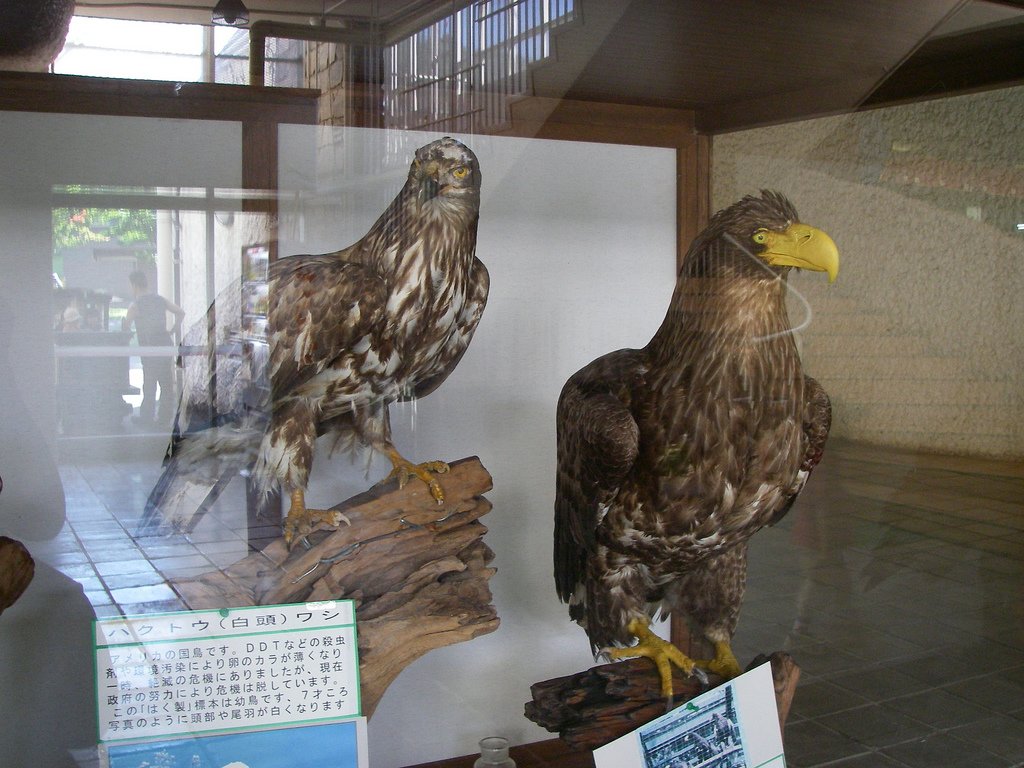
Many museums exhibit both traditional and avant-garde mounts for public viewing and some households display them – taxidermy is as artistic as it sells to be.
Do you have bird taxidermy at home or for sale? Tell us about it in the comments.
A Beginners Guide to Deer Taxidermy
02 Sep, 2015DIY Taxidermy: We All Have to Start Somewhere
19 Aug, 2015The Definitive Bear Taxidermy Primer
13 Aug, 2015Faux Taxidermy: Is the Real Deal Too Much?
13 Aug, 2015Pet Preservation: Pet taxidermy and Beyond
10 Aug, 20159 Times Taxidermy Went Viral: When The World Reacts
10 Aug, 201515 Great Taxidermy Blogs You Should Be Reading Now
04 Aug, 2015All The Different Types of Taxidermy
