
Taxidermy is both a science and an art. It is science because the process involves the preservation of a deceased organic entity using chemical treatments; it is an art because the challenge is to make the specimen as lifelike as possible with only the hide or skin as the canvas to work on.
The word “taxidermy” has Greek roots: “taxis” means movement, while “derma” means skin. Combine these two words and they connote the removal of skin from a creature that has been recently deceased.
Taking the hide off an animal for other uses has been a practice done as early as the dawn of man. Taxidermy.net notes in its brief history of taxidermy that as soon as primitive man began to hunt, he learned to preserve the skins of his prey and use them for clothing and shelter.
Tanning -- drying out animal hide under the sun for days -- became an important profession in those early days.
As centuries passed and demand for leather hide grew, so did the technology for processing animal skins. This practice of preserving animal pelt for basic necessities soon diversified to sport in the 1800s as hunters proudly displayed their “trophies” from their hunting expeditions for wild game.
These “trophies” were in the form of stuffed pelts of the animals they killed, sewn together by upholsterers -- the first taxidermists -- who merely stuffed the skins with rags and cotton. Needless to say, the first results of these endeavors were the stuff of nightmares but grotesque art, nonetheless.
The late 19th century also saw the rise in popularity of anthropomorphic taxidermy where practitioners became more whimsical with mounted animals. The specimens would be dressed like humans and made to strike human-like poses.
It was during the early 20th century when the true artisans of taxidermy elevated this practice into the modern form of taxidermy as we know it today.
“Stuffing” animal hide eventually turned into “mounting” where elaborate processes such as the creation of anatomically correct mannequins and wires were used to depict an animal as it looked like when it was still alive.
Modern taxidermy now employs an extensive array of styles depending on the type of specimen being worked on. However, at its very core, the procedure usually involves the use of borax and acetone to thoroughly clean and preserve a specimen’s skin and bones.
Formaldehyde and arsenic can also be used for limbs to plump them up and to protect them from turning into ant/termite fodder.
WikiHow explains the most basic process of conducting taxidermy through three steps:
If the specimen to be worked on is small enough to fit in a freezer, then you can place it there until you are ready to do the procedure.
Prior to setting aside your specimen, take the proper measurements to use as basis for the form to be utilized in your taxidermy project. You may also want to use a mold or a wooden/wire frame to form the shape of your specimen.
Remove the skin of your specimen with a sharp knife, taking care not to puncture the organs or any body cavity as doing so can destroy the skin. Peel off the skin as you would a chicken prior to cooking, making sure that any flesh or fat is scraped off for proper skin preservation.
The skin may be preserved by rubbing non-iodized salt onto the flesh side and setting it under the sun for 24 hours. The salt will eventually absorb any moisture from the hide.
If there is still any moisture left, rub salt again and let it set for another 24 hours until it totally dries up. However, don’t let it dry up to the point where the skin becomes too hard to mold.
After the skin becomes strong enough not to rip, rehydrate it by soaking it in a solution of cool water, a capful of disinfectant concentrate, and table salt.
After an overnight’s worth of soaking, hang to dry and towel off excess moisture.
Take one more opportunity to take off any flesh that may still be sticking to the hide prior to tanning.
Heat up some tanning oil then rub it on the skin being treated.
After several hours, store the skin inside a plastic bag and put in the refrigerator until mounting commences.
If you already made a mannequin based on the measurements of the original deceased, then dressing it with the skin you preserved will be easy. However, for parts that need some adjusting, bit of newspaper or twine can help.
There are shops that specialize in items like glass eyes or even animal appendage casts that taxidermists can use to properly mount their specimens. These can help to make your project more lifelike in appearance.
When sewing the hide, stitch using a thread color that will blend well with the hide/feathers/skin. Try to make the stitching as invisible as possible.
In caring for your finished product, make sure that it is regularly dusted off and kept away from direct sunlight. Place it in an area of the room that is free from any moisture that could destroy the hide.
One may be confused as to how similar or different taxidermy is from embalming. While both have body preservation as the result, embalming strives to keep a dead body intact for a longer time amid the toll of decomposition.
Much of an embalming specimen’s skin, muscle, and bone remain throughout the process which requires the injection of embalming fluid (consisting primarily of formaldehyde, methanol, and other solvents) into the deceased body’s arterial system. By the time the embalming fluid is injected, the body has previously been drained of its own body fluids.
Meanwhile, with taxidermy, all that is left of a specimen’s original body is its skin. After preservation, the skin is mounted on a cast or model that would mimic the specimen’s original anatomical structure, then the minute features of the specimen are left to the artistic hands of a taxidermist.
There are many ways of skinning an animal, as the saying goes, and so are the ways of doing taxidermy -- depending on the animal undergoing the procedure.

When your specimen is very small, preparing them for mounting could be very tedious. In fact, it is recommended that when performing taxidermy on animals like birds, fish, or small reptiles, a taxidermist should have the kind of tools a dentist uses for their ability to explore and clean even the tiniest crevices.
One important reminder on how to taxidermy a bird: it is best to keep the bird’s head intact, along with the rest of the skin, so that preservation will be as seamless as possible.
However, the soft tissue inside the head like the brain, eyes, and tongue have to be scooped out so that what remains of the head would be the skull, the skin, and the beak. Yes, in bird taxidermy, you will not want to take off a bird specimen’s beak.
The same is true with fish taxidermy and that of other tiny animals in the sense that it is best to keep the head intact (minus the flesh and other soft tissues) and attached to the skin to be used for mounting. However, mounting fish requires something extra from the taxidermist.
Unlike with other animals prior to mounting, fish skin is thin and it tends to lose its color. Thus, upon mounting, a taxidermist’s next job is to paint every inch of the fish to make it look fresh and alive.
Another option with fish taxidermy is to simply preserve the specimen in alcohol then either display as-is or dry it after the alcohol bath then mount it on a stand.
For both bird and fish skin preservation, the job can be done with borax powder coated on both sides of the pelt. Store inside a container and let it sit under dark and cool conditions for four days. When you take it out of storage, the skin will be dry, stiff, and ready for mounting.
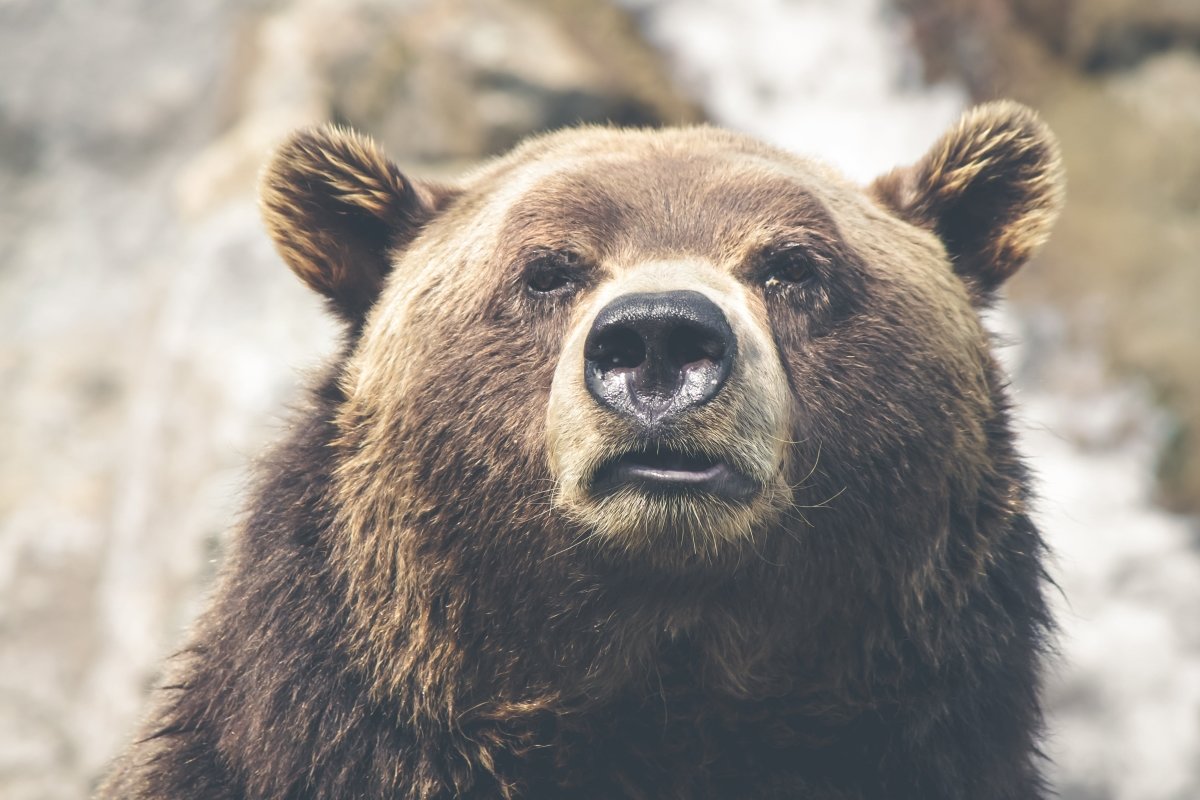
Probably the most common taxidermy specimens to date are large game like big cats, bears, and deer. For this kind of taxidermy, bear in mind that this is a project that could take months to do due to the immensity of the specimen being worked on.
Bear taxidermy, especially black bear taxidermy, is a common practice in the US, primarily due to the fact that these animals are prized catches of hunters in the area. They also make for interesting conversation pieces when made to pose in all their powerful, towering glory. Bear mounts are also found in many wildlife displays depicting them in their natural habitats.
Deer taxidermy is also common since the population of these animals are still thriving and many a hunter track them down not only for sport but also for their meat. However, compared to other big (and more ferocious) game, it is usually the deer’s head that gets mounted while the rest of its body ends up on the dinner table.
For deer head taxidermy, much of the attention goes to the expression of the specimen. If not made properly, the deer wall mount will result to a hideous lookalike of the Devil’s spawn or the Black Goat of the Woods.
Thus, the taxidermist employs the use of photos showing the particular animal in action to give him a better idea how a taxidermy deer head should really look like.
He uses paints and mold to recreate the nose, then glues on glass eyes and the deer’s original teeth if the wall mount depicts a deer with an open mouth.
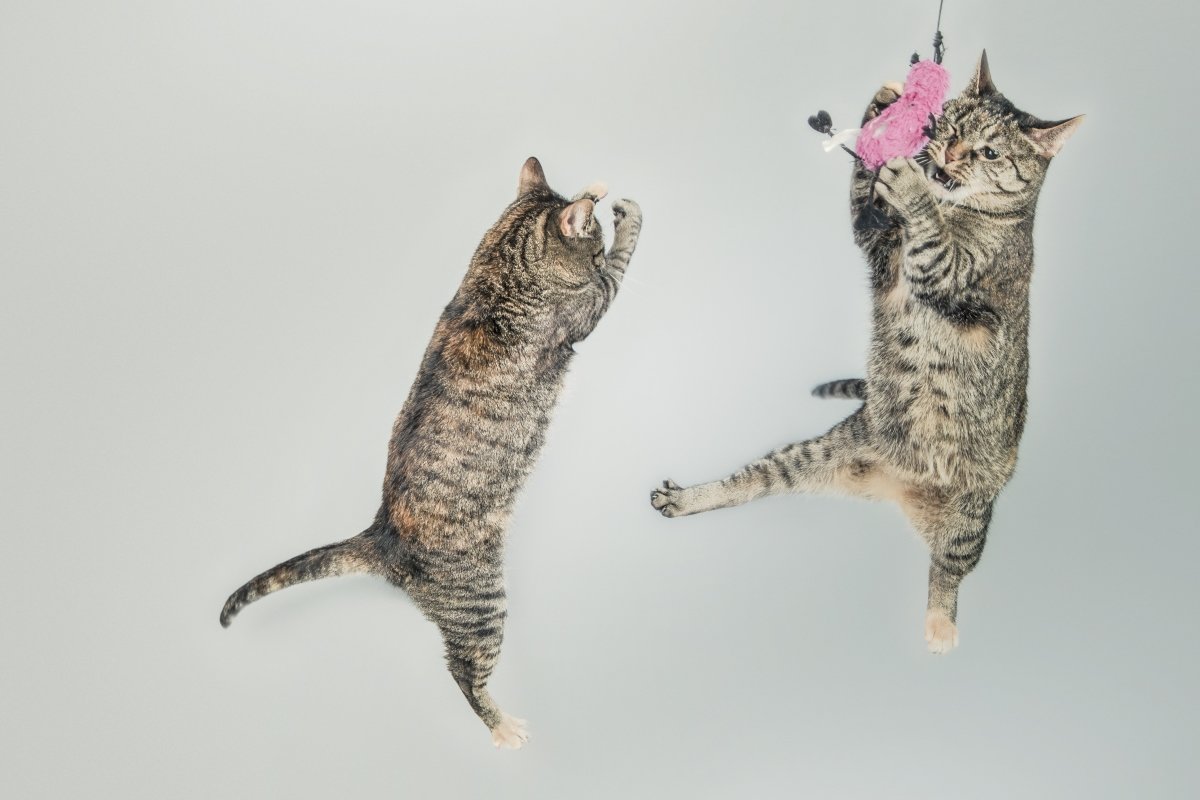
The profession of taxidermy has diversified even more from simply preserving wild game for enthusiasts to immortalizing Fido and Figaro.
Pet taxidermy is becoming a lucrative trade as more people treat their pets more like members of their families than simple companions in the household. The moment they pass on, many of these pet owners choose taxidermy as a viable alternative to resurrecting their beloved pets.
There is another option for preserving pets called freeze-drying, but the process is lengthy and the rates for this procedure are relatively high. Taxidermy is still the faster and more pocket-friendly alternative.
A word of warning, though:
Make sure to choose a reputable taxidermist and to review his sample works before sending your pet off for a procedure on immortality. You see, there is good taxidermy...and there is taxidermy meant to scare the bejezus out of you when your pet is returned on a mount.
There is so much debate over doing taxidermy on a human corpse. After all, if the procedure can be done on various animals, why can’t it be done on humans?
The following are reasons why taxidermy cannot be done on deceased human beings:
Human skin will not survive the preservation procedure. Just from tanning, the skin will darken and become too tough for mounting. Animal skin manages to remain relatively supple despite the tanning procedure because of the fur/feathers/scales covering it.
Even with mummification, specimens’ skins turn coarse and wrinkled. This, even with the application of various oils to keep the skin moisturized even after the person’s death. What more for taxidermy where various salts and solutions are used to dehydrate the skin and preserve it for mounting?
While some may argue that human taxidermy can be done for the sake of pure science, cultural and even legal conduct dictates that this is tantamount to corpse mutilation. One can be persecuted for conducting such an experiment.
There are, admittedly, products of human taxidermy being displayed. Probably the most celebrated of all was the one conducted on British philosopher and social reformer, Jeremy Bentham -- the founder of modern utilitarianism.
Before his death in 1832, Bentham had already prepared a will stating that his body be used for dissection and turned into an auto-icon. His remains were turned over to his disciple, Thomas Southwood Smith for the deed.
The University College London eventually acquired Bentham’s body (which was actually just the head and the skeleton dressed in Bentham’s clothes that were stuffed with hay) and made good use of it by putting it on public display. It even had the distinction of being made to sit in some of their College Council meetings to be counted as “present but not voting.”
Alas, while well-preserved, the skin on Bentham’s head eventually shrivelled and darkened. The university decided to take off the head, keep it in storage, and replace it with a wax replica. Jeremy Bentham remains on display at UCL to this day.
Click here to view Jeremy Bentham’s virtual auto-icon. You may be appropriately amazed or cringe in bewilderment.
DIY Taxidermy: We All Have to Start Somewhere
19 Aug, 2015The Definitive Bear Taxidermy Primer
13 Aug, 2015Faux Taxidermy: Is the Real Deal Too Much?
10 Aug, 20159 Times Taxidermy Went Viral: When The World Reacts
27 Jul, 2015Taxidermy in the Modern Age: The Story So Far
21 Feb, 2014Faux Taxidermy: Resin Bear Head Wall Mounts by White Faux Taxidermy
09 Sep, 2015A Beginners Guide to Deer Taxidermy
29 Aug, 2015Bird Taxidermy for Dummies
